Make My Week #34 – More Wrist Cuffs and A Giveaway
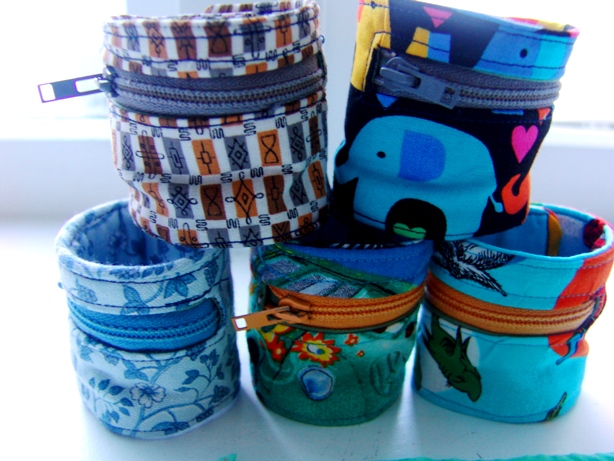
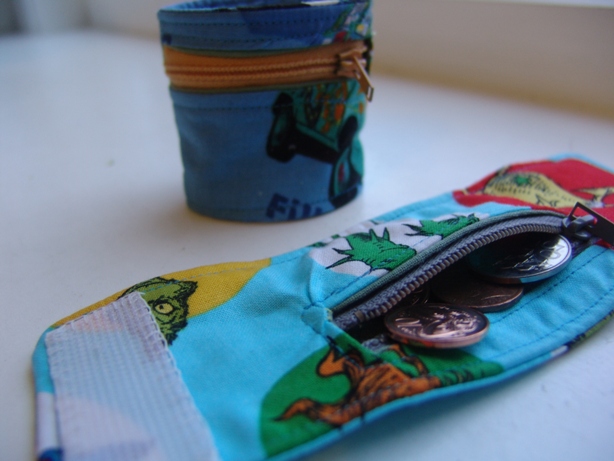
So after you were all so lovely about my wrist cuffs I thought one would make a perfect giveaway for August. These are the latest ones I have made using the same tutorial as last time.
I’ve also made a little brooch for the winner of my last giveaway but I won’t reveal that until it is safely with its new owner. I do like it though I might have to make one for myself even.
If you are a Christchurch person I would love to encourage you to get along to Crafty Christchurch in the GeoDome in Hagley Park – starting tonight and going through the weekend. Some of the Chch bloggers are going tonight if you want to gatecrash.
To see other crafty makes click on the creative spaces button on the right
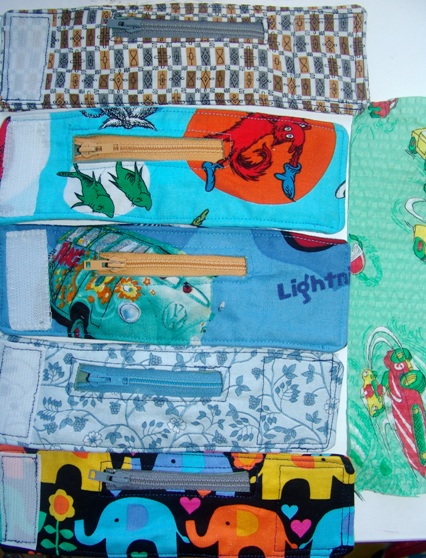
to enter the giveaway let me know which money cuff fabric you like best. If you follow this blog and want 2 entries just leave 2 comments (by email, or google reader/connect thingy! or however else you might follow). The photo with the cuffs open is the most representative of their actual colours. Have another cut out in the green seersucker (wrinkly) fabric as well so you have to imagine that one!
I am going to give away 2 of these one for anyone who enters and the other for followers of my blog. Not because I want you all to follow, unless you actually want to, in which case welcome!! but I want to acknowledge all the encouragement I get from you choosing to come along for the journey.
to see more of the things I’ve been making go here
and if you don’t want to enter please feel free just to leave a lovely comment but don’t tell me which one you like best (clearly I love comments)
There are daffodils springing up in the garden – Spring is around the corner!
Make My Week #32 – Wrist Wallets or Money Cuffs
Not sure of the exact technical term for these but I hadn’t really thought much of them until we started doing pocket-money.
Suddenly my guys need to take money places and even though the big one has a wallet and they often have pockets – it’s just one more thing to lose or leave somewhere. Modelled with kind of photo you’re pleased you didn’t pay for!
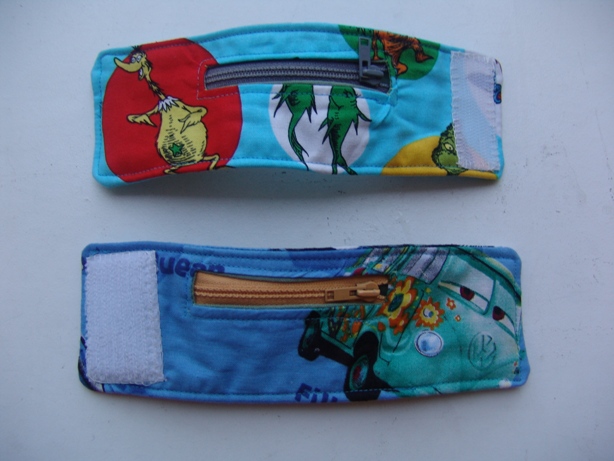
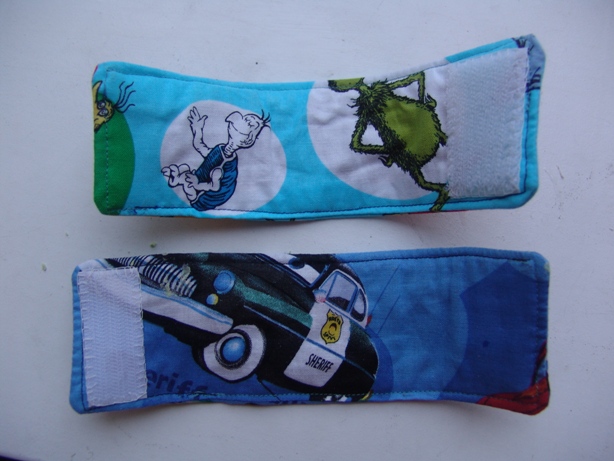
Enter the wrist wallet – velcro on and off with a wee zip to hold money or other very small treasures.
I made them from fabric the boys had chosen ‘lighting N’Queen’ and Dr Seuss. Find similar Dr S fabric here.
On Friday when they got up there was a little package waiting for them both at their places for breakfast.
These versions are fully lined and….. I followed an online tutorial!!! I know Juliet will be very proud of me – online tutorials freak me out a bit but this one was very simple. You can find it here.
The boys can put them on without any help too which is great as well.
I am really pleased with these – I can see they might make a feature on the birthday present list. I made 2 extras because it always takes so much longer to make one individually than several at once.
It’s also another pin real life where you take some inspiration on your pinterest board – here’s the board, and you actually do something with it. You can find all sorts of my inspiration on pinterest and follow along if you want to.
I think an adult version would be great too if you were a running/walking type and just wanted a house key (and maybe some $ for a coffee along the way)
What do you think? Would you wear one?
Making Your Own Bus Coasters
A while ago I made a set of Christchurch bus map coasters and someone asked for a tutorial.
Start with a set of old coasters you don’t want.
Give them a sand down with some rough sandpaper (mine is around 100 – sound official??)
Select your print, fabric, map….. I drew around mine so I could get a sense of exactly what they would look like – with pencil so I could move it. Cut them out and check they sit nicely on the coaster.
Apply a good coat of PVA – you can water this down a bit.
Smooth the print on – I use a ruler to get rid of air bubbles.
Let it dry completely.
Now I used polyurethane (varnish) some people have asked me if I used modge podge, which I have heard of but never used. Warning this stuff seems very expensive to me so you might want to have a rummage in the garage or decide if you want to work with a friend.
I do 2 coats of water based clear varnish. Let it dry thoroughly between coats.
Then 1-2 coats of enamel based varnish for the really glassy finish. Again patience and commitment between coats is going to give you a better finish. Also you should probably do at least the enamel based outside or in the garage, it’s pretty stinky.
I’d love to know if you do some and see your work too. If you want to share this tutorial please link back here. Thanks
